
How I created my website with Next.js
In this post, I go through the Tech Stack used to build my website.
While previous versions were focused on demonstrating my tech skills, portfolio showcase, etc., the current website is mostly created as a space to collect and share my notes.

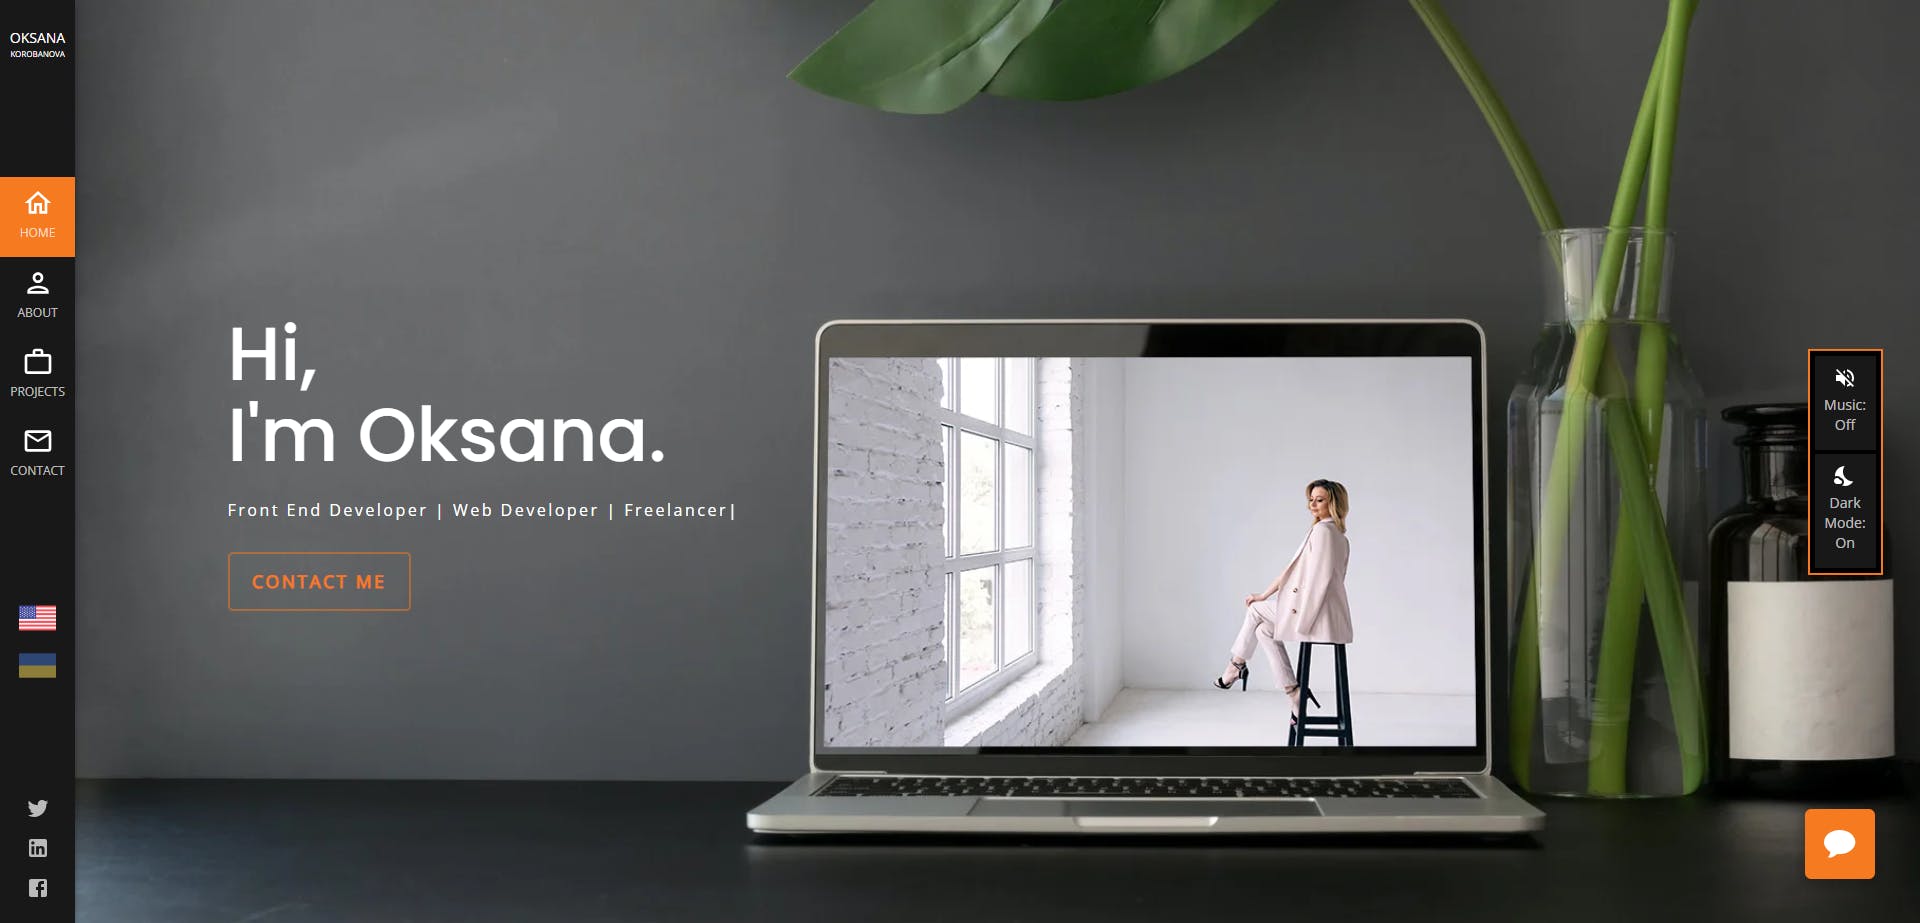
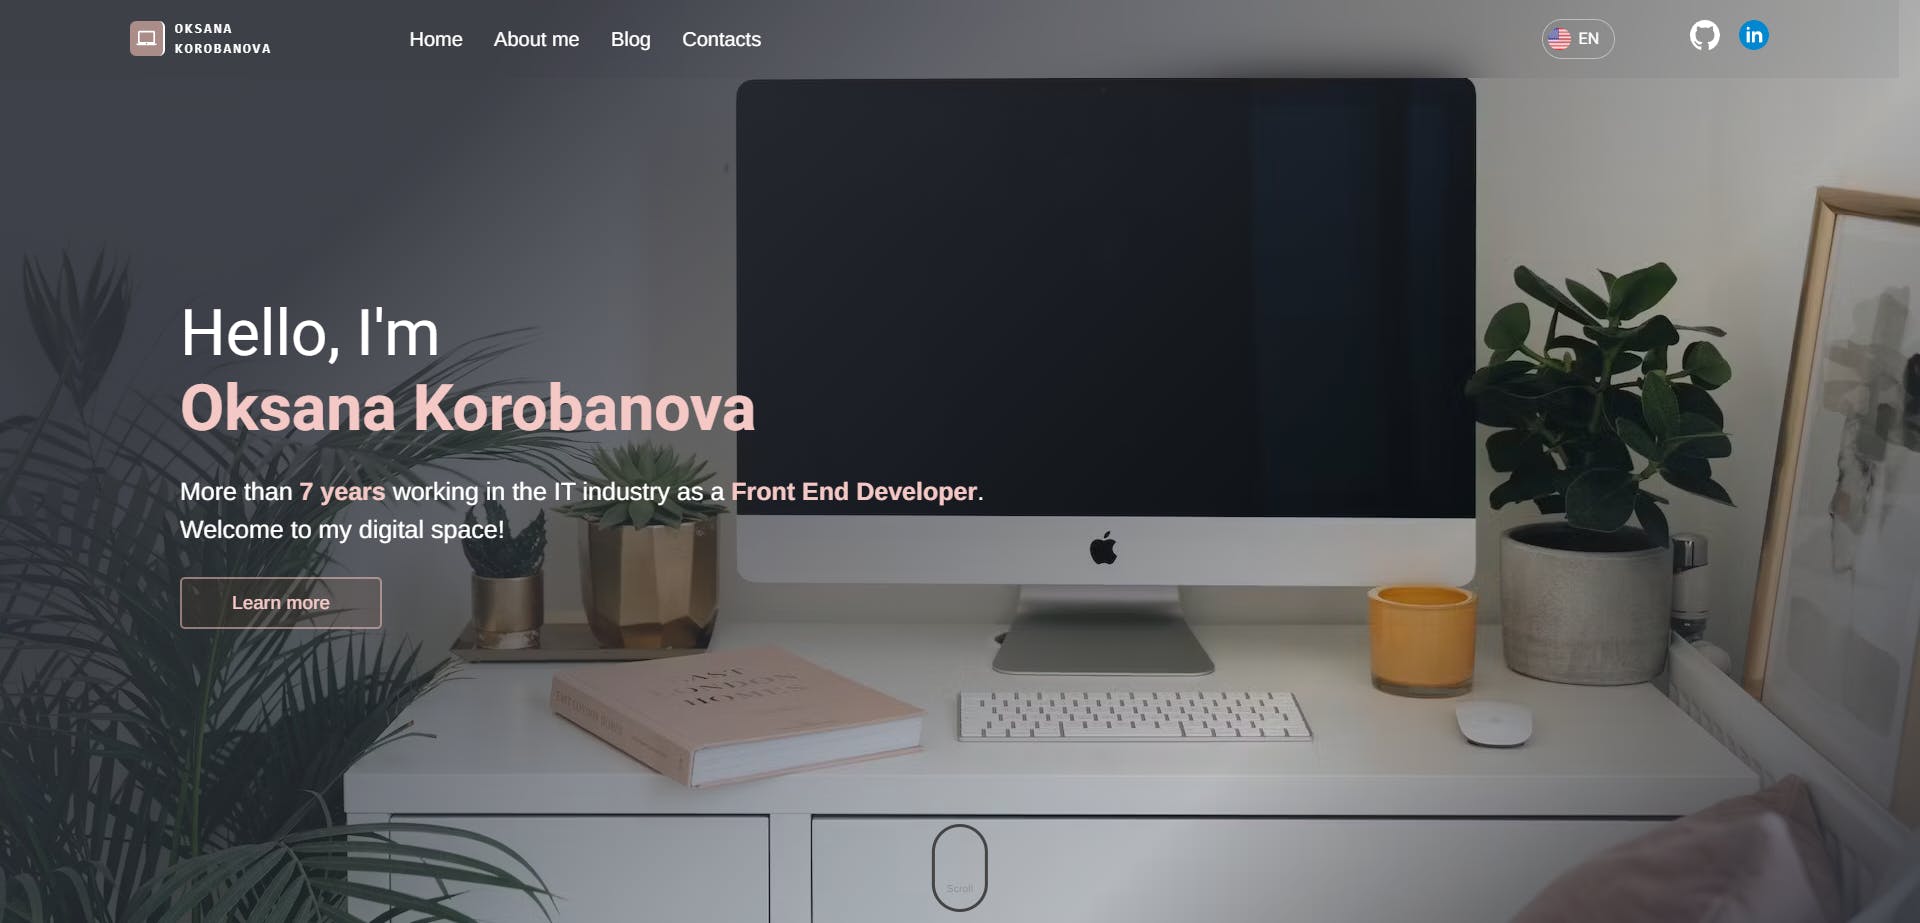
3 last versions of hero block :)
Design
I'm not a web designer, so the idea was to use some UI library with ready-made UI components.
Easy to customize styles throughout the app.
Tech Stack
Before starting any project I write down what I expect from it. So, I built a list of the next requirements for my personal website/blog:
- No hardcoded content. Separate content from the code base.
The idea is to build a system where I can update any content without going directly to code. Easy to fill content. - Multilingual support.
Initially, I planned to have pages only in English. But, I decided to add Ukrainian. - SEO support
It's a blog. So would be nice to have the possibility to easily share posts on social media, and help search engines find my website.
What I also kept in mind:
- Easy to scale in the future(add new pages, courses, etc.)
In the end, I settled for Next.js, Prismic.io, Material UI, Prisma, Vercel Postgress, and Vercel for deployment.
Next.js
Next.js is a framework built on top of React. Here are some reasons why I decided to use Next.js over basic React:
- Static Site Generation (SSG): Next.js supports static site generation, which allows you to pre-render pages at build time. This is useful for creating highly performant and SEO-friendly websites, blogs, and marketing pages.
- Routing: Next.js includes a built-in routing system that makes it easy to create dynamic, client-side navigations without the need for additional routing libraries.
- Development Experience: Next.js comes with a great development experience out of the box, including hot module reloading, a development server, and a fast refresh feature that makes the development process more efficient.
- API routes: Next.js allows to define API routes as serverless functions, making it easy to create server-side endpoints for handling data and server-side logic.
Prismic.io
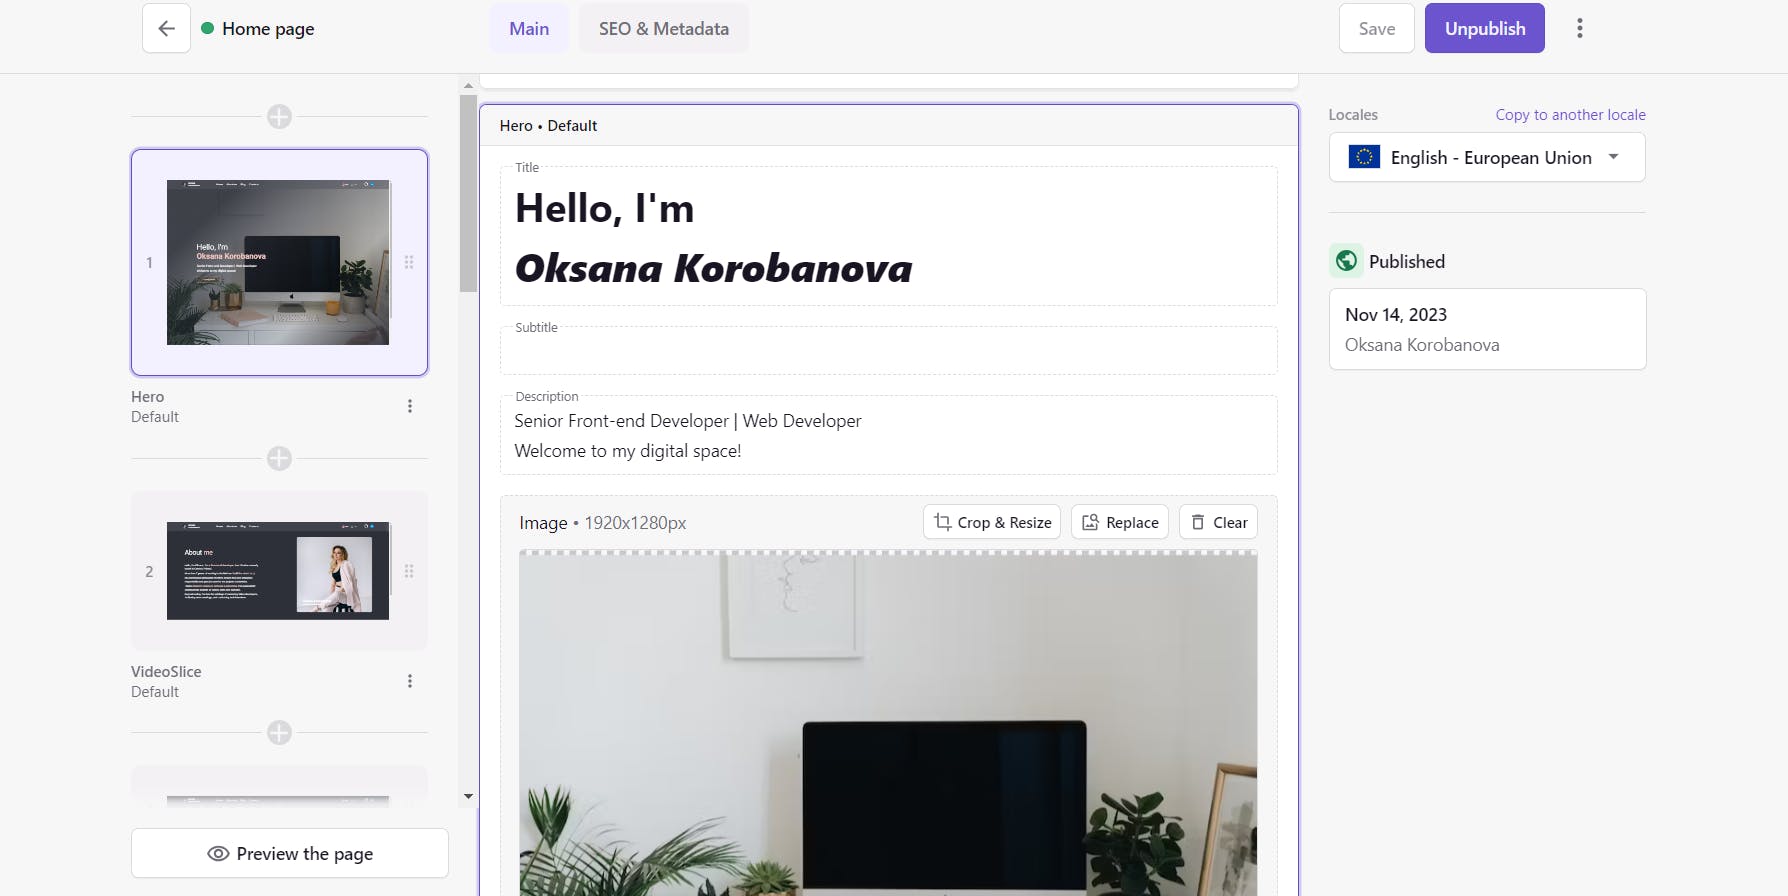
Prismic.io is a headless content management system (CMS). It allows you to separate content management from the application codebase, which can lead to faster development and easier content updates.
Reasons why I decided to use it:
- Localization and Internationalization: Prismic.io supports multi-language content, making it suitable for building multilingual websites or applications.
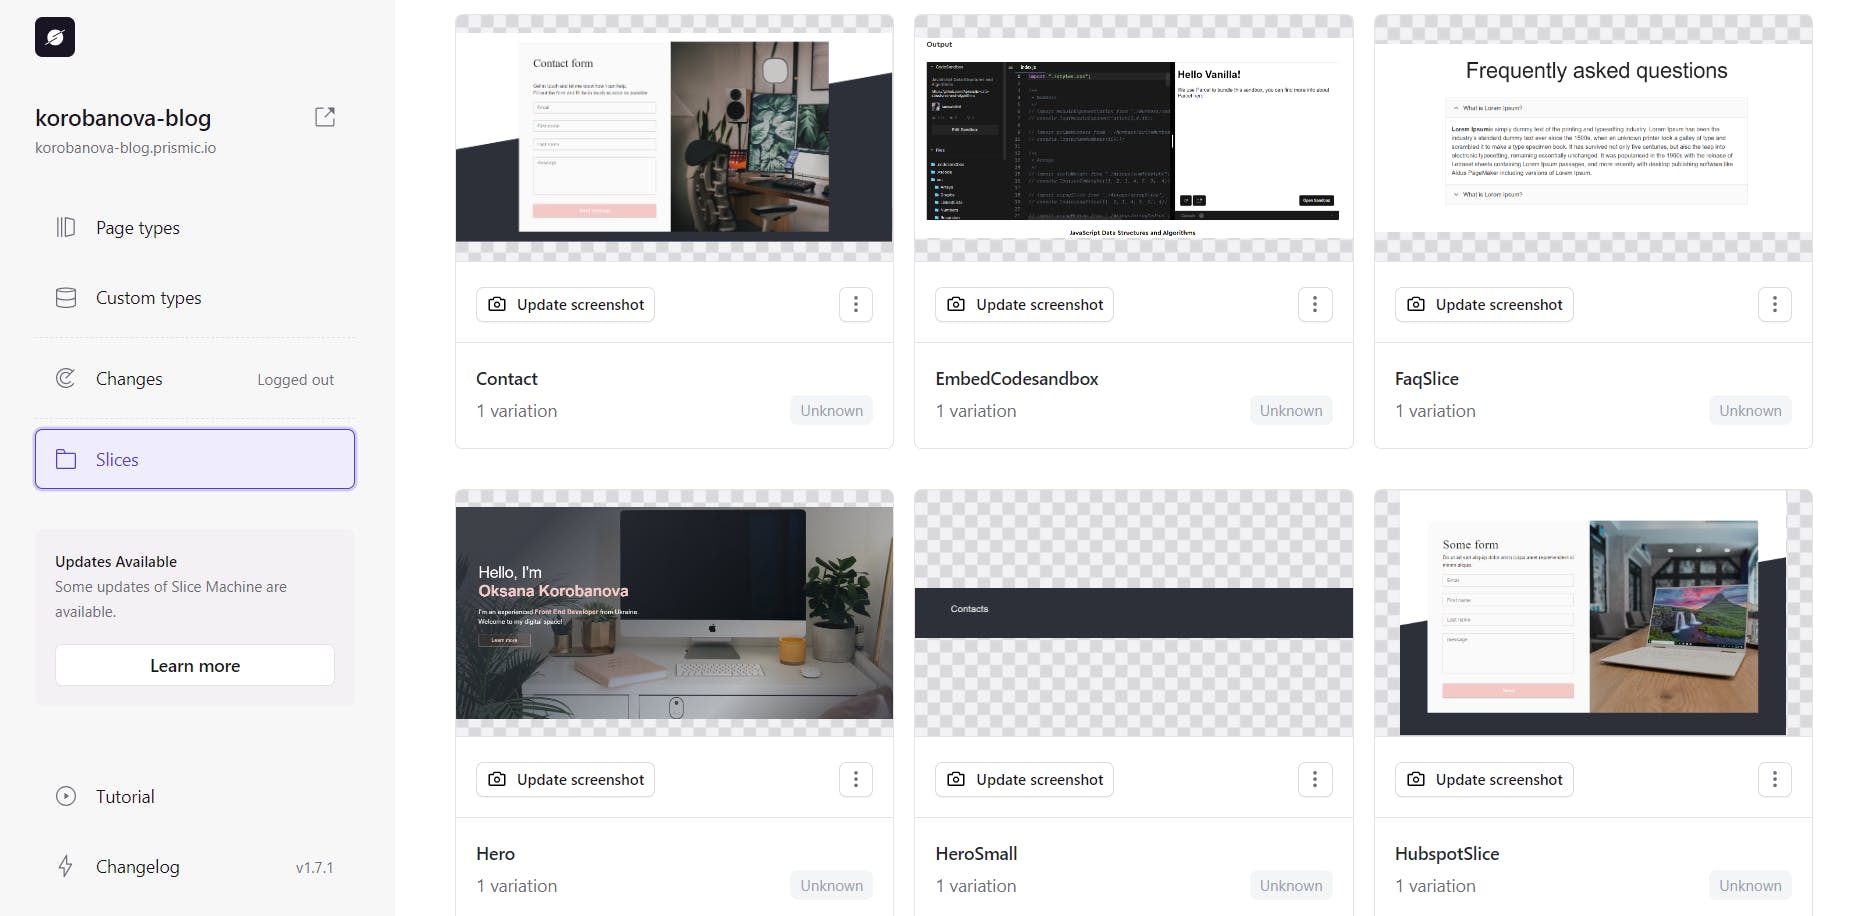
- It provides a mechanism called slice-machine that allows to easily scale the app (both for development and content creation). How it works? The developer creates a section (own design & code) and publishes it. The content maker just reuses it on the website pages wherever he/she wants.
- It's free for 1 user.
- Familiarity with the framework.
- Developer-Friendly: Prismic.io offers developer-friendly tools and documentation, making it easier to work with the CMS and integrate it into the Next.js application.
- Leave preview:
Material UI 5
Material UI 5 as a UI framework. Why I chose it:
- Design Consistency: Material UI provides a set of pre-designed components and a consistent design language based on Google's Material Design principles.
- Rapid development: Material UI's pre-built components can help speed up development by providing ready-made building blocks for common UI elements such as buttons, forms, and navigation components. This saves a lot of time compared to building these components from scratch.
- Rich documentation
- Customization: Material UI allows for extensive customization of its components.
1const customTheme = createTheme({
2  typography: {
3    fontFamily: `${roboto.style.fontFamily}, ${arimo.style.fontFamily}`,
4    h1: {
5      fontSize: '50px',
6      fontFamily: roboto.style.fontFamily,
7    },
8    body1: {
9      fontFamily: arimo.style.fontFamily,
10    },
11  },
12  palette: {
13    primary: {
14      main: 'rgb(244, 200, 197)',
15    },
16    secondary: {
17      main: '#2e3039',
18    },
19  },
20  components: {
21    MuiCssBaseline: {
22      styleOverrides: {
23        '& a': {
24          color: 'inherit',
25          textDecoration: 'none',
26        },
27      },
28    },
29  },
30});
31
32const theme = responsiveFontSizes(customTheme);
33
34export default responsiveFontSizes(theme);
Vercel
Vercel as a hosting platform. Why I chose it:
- Vercel offers a free tier
- Next.js Integration: Vercel was created by the same team behind Next.js, so it provides seamless integration and optimized hosting for Next.js applications.
- Automatic Deployments: Vercel supports automatic deployments from various version control systems like GitHub, GitLab, and Bitbucket. When you push changes to your repository, Vercel can automatically build and deploy your Next.js app.
- Custom Domains and SSL: It's easy to configure custom domains and SSL certificates.
Prisma and Vercel Postgress
Prisma as the ORM for migrations and database access
Vercel Postgres as the database
So, at that point, my website was built and deployed. One thing left was to add a Contact form and save data from it in the database. I had a few options on how to implement its functionality. Browsing through Vercel documentation I came across the tutorial on using Vercel Postgres and decided to send data from the Contact form to my personal email using Nodemailer and store data in Vercel Postgres.
Additional libraries:
- Formik, Yup for working with forms
- date-fns for working with dates
- React Syntax Highlighter for displaying code blocks in blog posts
The Future
Focus on adding posts. Add auth functionality. Add comments section.
Have some questions regarding this article?
Get in touch and let me know how I can help.
Fill out the form and I'll be in touch as soon as possible